uipaint
Description
BW = uipaint(Im)Im is an Image object returned by the imageshow
function. The image viewer enters an interactive painting mode, in which you can draw and
erase overlay pixels and accept the updated overlay. The function returns the pixels you
draw as a binary mask and updates the OverlayData property of
Im.
BW = uipaint(Im,Name=Value)OverlayValue=3 sets the OverlayData property value
of the pixels you draw to 3.
Examples
Display an image in a viewer window by using the imageshow function. Specify the output argument to create a handle to the Image object.
Im = imageshow("peppers.png");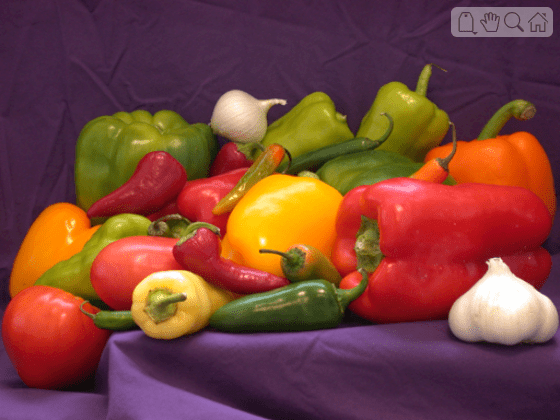
Enable the paintbrush mode by using the uipaint function. Optionally, to return the pixels you draw as a binary mask, specify the output argument bw.
bw = uipaint(Im);
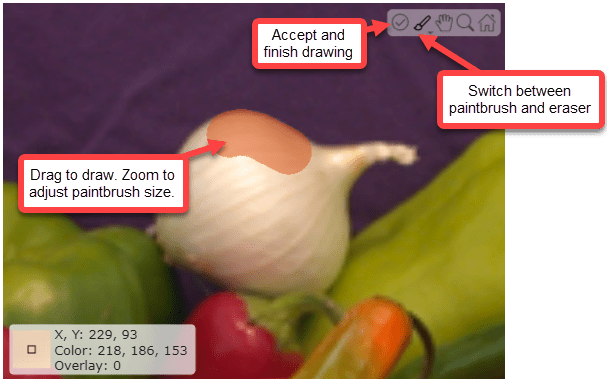
In the viewer window, the toolbar and pointer change to paintbrush mode. To draw the label overlay, click the image and drag. While painting, you can use the Paint dropdown in the toolbar to switch between painting and erasing. Alternatively, you can hold Ctrl to use the eraser tool. To draw with finer detail, zoom in on the image using the mouse wheel.
The viewer blocks the MATLAB® command line while in paint mode. To finish drawing and deactivate the paint brush tool, click the Accept icon ![]() in the viewer toolbar or press Enter.
in the viewer toolbar or press Enter.
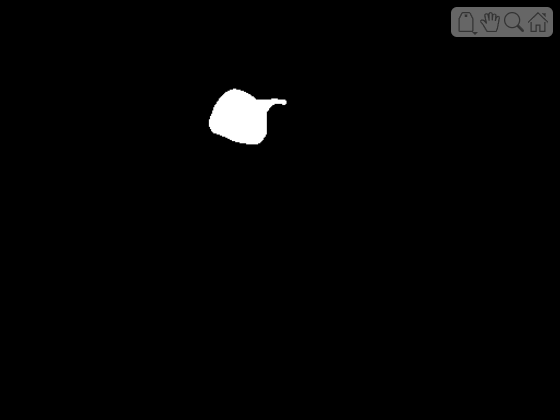
Display the binary output mask. The mask matches the pixels you draw during the paintbrush interaction.
imageshow(bw)
Display an image using imageshow, specifying an output argument to create a handle to the Image object.
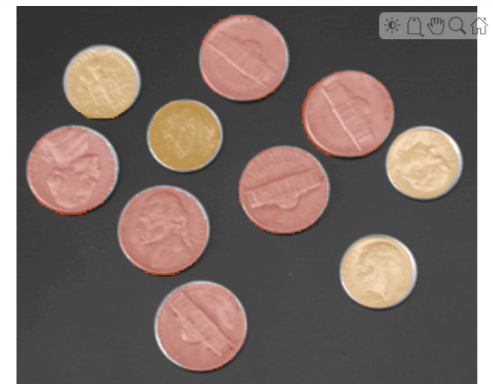
Im = imageshow("coins.png");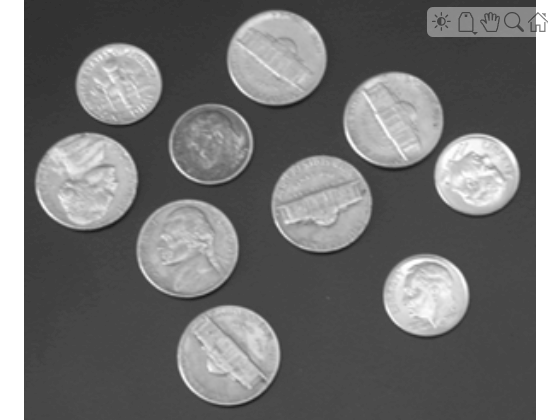
Draw a mask that contains all the nickels in the image using the default overlay value of 1. To finish drawing, press Enter or click the Accept icon to create the mask.
nickels = uipaint(Im);
Draw a mask that contains the dimes in the image. To display the dimes label using a different color, specify the OverlayValue name-value argument as 2. Alternatively, if you do not need the imageshow overlay colors to be different, each use of uipaint generates a separate binary mask, even if you do not specify OverlayValue.
dimes = uipaint(Im,OverlayValue=2);
This screenshot shows the display after interactively labeling nickels and dimes.
Display the binary masks of the nickels and dimes.
imageshow(nickels)
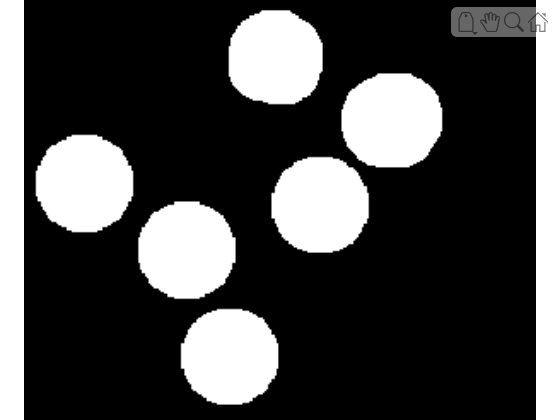
imageshow(dimes)
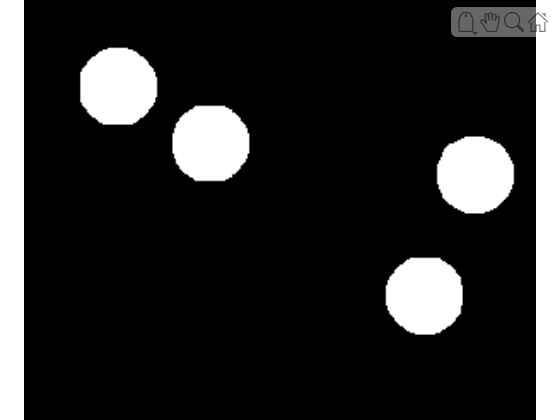
You can use the binary masks for image analysis and processing. In this case, count the number of dimes. Alternatively, you can calculate the total area occupied by nickels versus dimes using bwarea, or sharpen the regions within the nickel masks using roifilt2.
cc = bwconncomp(dimes);
numDimes = cc.NumObjects
numDimes =
4
Use the paintbrush to draw labels within a categorical label image.
Load buildingPixelLabeled, which includes an image (img) and the corresponding categorical labeled version of the image (label), into the workspace.
load buildingPixelLabeled
whos
Name Size Bytes Class Attributes img 480x640x3 921600 uint8 label 480x640 307698 categorical
List the categories in the label image.
categories(label)
ans = 4×1 cell
    {'sky'     }
    {'grass'   }
    {'building'}
    {'sidewalk'}
Display the image by using imageshow, specifying the label image as an overlay.
Im = imageshow(img,OverlayData=label);
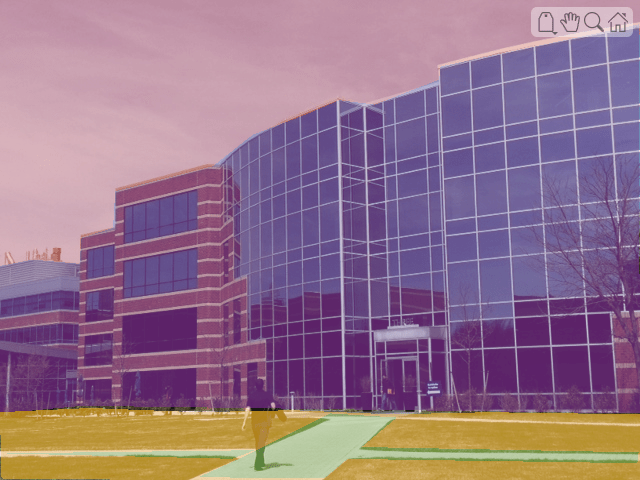
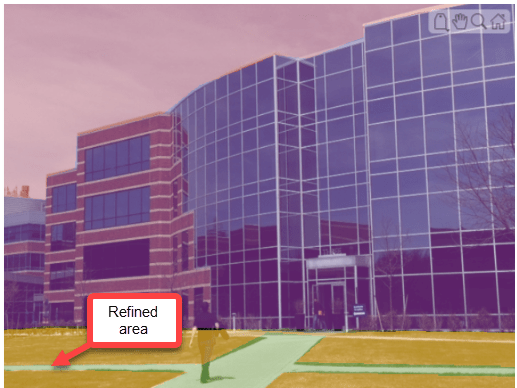
Use the paint brush to refine the labels at the edge of the sidewalk. Use the OverlayValue name-value argument to draw using the sidewalk category label.
mask = uipaint(Im,OverlayValue="sidewalk");This screenshot shows the image after using the paintbrush.
Note that the output mask contains only the pixels you draw using the paintbrush. To save the complete updated label image, extract it from the OverlayData property of the image display object.
newLabel = Im.OverlayData;
Input Arguments
Name-Value Arguments
Output Arguments
Tips
The MATLAB® command line is blocked while the paintbrush tool is enabled. To turn off the paintbrush, accept the updated overlay in the viewer toolbar.
A pixel is
truein the output mask if the paintbrush tool paints the center of the pixel.In addition to specifying the
BrushSizename-value argument, you can change the brush size while painting by clicking inside the viewer and holding Shift while scrolling the mouse wheel.Depending on your use case, you can get the labels you paint using the
uipaintfunction in these ways.Screenshot — To capture and view the image overlay outside MATLAB, right-click the image and select Copy screenshot to clipboard or Save screenshot to file.
Binary mask — To access the pixels drawn during only one paintbrush interaction, get the corresponding output mask
BW.Label image — To access the complete overlay image for an
Imageobject, access theOverlayDataproperty of that object using dot notation. Each overlay color represents a differentOverlayDatavalue.
Version History
Introduced in R2026a