Create and Add Custom Data Elements
R2026bAn ASAP2 file generated from a model contains the data elements present in the model that were configured for export. You can extend the file with custom data elements using the Simulink® Coder™ software. The functions enables you to:
Create and add custom data elements such as characteristics, measurements, axis-points, functions, groups, record layouts, and CompuMethods.
Find and filter data elements based on their properties.
Get or update the properties of data elements.
Remove data elements from the ASAP2 file.
Customize an ASAP2 File
This example shows how to programmatically customize ECU descriptions in an ASAP2 file by adding, modifying, and removing computation methods, characteristics, measurements, and lookup table parameters.
Use functions to create an ECU description object from a built model, find and filter its contents, and export a customized ASAP2 file.
In this example, you:
Build a model and create an ECU description object
Find and filter computation methods by properties
Add and modify a custom computation method
Add and modify a custom characteristic and measurement
Add a lookup table parameter with axis information
Export the customized ASAP2 file
Open and Build the Model
Open the example model ASAP2Demo and generate code from it. Building the model is a prerequisite for creating the ECU description object.
open_system("ASAP2Demo");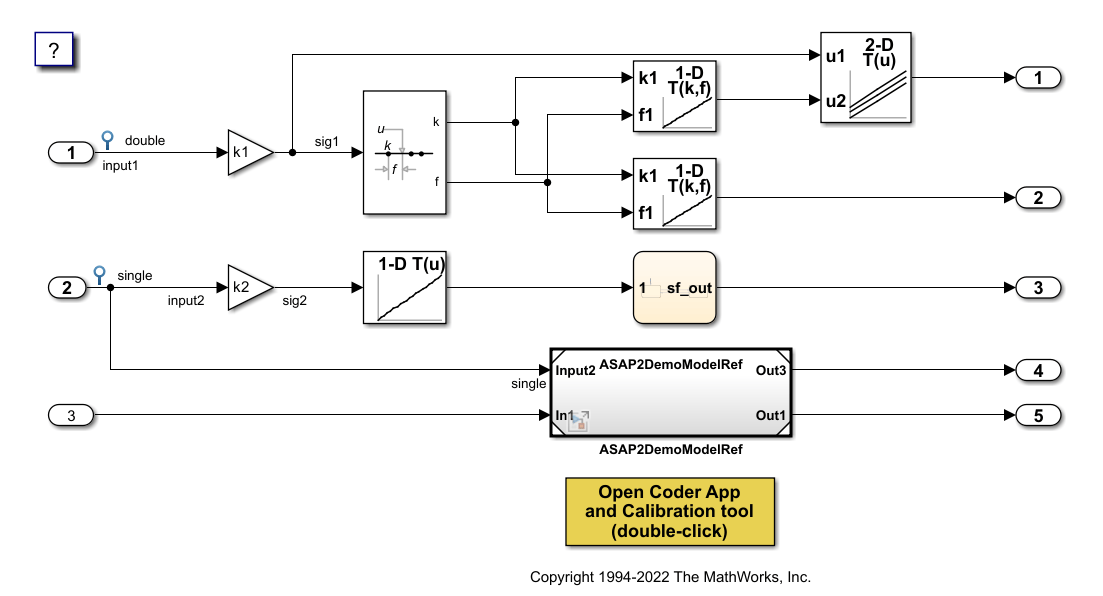
slbuild("ASAP2Demo");### Searching for referenced models in model 'ASAP2Demo'. ### Total of 2 models to build. ### Starting serial code generation build. ### Starting model reference code generation target build for: ASAP2DemoModelRef ### Successfully updated the model reference code generation target for: ASAP2DemoModelRef ### Starting top model code generation target build for: ASAP2Demo ### Successful completion of build procedure for: ASAP2Demo Build Summary Model reference code generation targets: Model Build Reason Status Build Duration ============================================================================================================ ASAP2DemoModelRef Target (ASAP2DemoModelRef.c) did not exist. Code generated and compiled. 0h 0m 8.5322s Top model targets: Model Build Reason Status Build Duration ============================================================================================ ASAP2Demo Target (ASAP2Demo.c) did not exist. Code generated and compiled. 0h 0m 16.383s 2 of 2 models built (0 models already up to date) Build duration: 0h 0m 27.316s
Create and Explore ECU Descriptions
Create the ECU description object for the built model. Use the find function to list available computation methods.
descObj = coder.asap2.getEcuDescriptions("ASAP2Demo");Export duration: 0h 0m 0s 227ms
find(descObj, "CompuMethod")ans = 1×9 string
"CM_double" "CM_double_m_per_U0028_s_U005E_2_U0029" "CM_double_rpm" "CM_int16_rpm" "CM_int32" "CM_single" "CM_single_m_per_U0028_s_U005E_2_U0029" "CM_single_rpm" "CM_uint8"
Filter the computation methods to get only those that use rpm as the unit.
find(descObj, "CompuMethod", Units="rpm")
ans = 1×3 string
    "CM_double_rpm"    "CM_int16_rpm"    "CM_single_rpm"
Add a Custom Computation Method
Create a computation method with a linear conversion type and add it to the ECU description object.
CompuMethod_1 = coder.asap2.CompuMethod;
CompuMethod_1.Name = 'CompuMethod_1';
CompuMethod_1.ConversionType = "LINEAR";
CompuMethod_1.Coefficients = [2 3];
CompuMethod_1.LongIdentifier = "longIdentifierTest";
CompuMethod_1.Format = "%2.3";
CompuMethod_1.Units = "s";
add(descObj, CompuMethod_1);
Verify the properties of the newly added computation method.
get(descObj, "CompuMethod", "CompuMethod_1")
ans =
  CompuMethod with properties:

               Name: 'CompuMethod_1'
     LongIdentifier: "longIdentifierTest"
             Format: "%2.3"
              Units: "s"
       Coefficients: [2 3]
     ConversionType: "LINEAR"
    CompuVTabValues: [1×1 struct]
         CustomData: ""
Update the conversion type to TAB_VERB and define the corresponding CompuVTabValues. Use the set function to modify properties of an existing description.
set(descObj, "CompuMethod", "CompuMethod_1", ConversionType="TAB_VERB");
set(descObj, "CompuMethod", "CompuMethod_1", CompuVTabValues=struct("Literals", ["false" "true"], "Values", [0 1]));
Verify the modified fields.
modifiedProp = get(descObj, "CompuMethod", "CompuMethod_1")
modifiedProp =
  CompuMethod with properties:

               Name: 'CompuMethod_1'
     LongIdentifier: "longIdentifierTest"
             Format: "%2.3"
              Units: "s"
       Coefficients: [2 3]
     ConversionType: "TAB_VERB"
    CompuVTabValues: [1×1 struct]
         CustomData: ""
modifiedProp.CompuVTabValues
ans = struct with fields:
    Literals: ["false"    "true"]
      Values: [0 1]
Add a Custom Characteristic
Create a characteristic that represents a calibration parameter and add it to the ECU description object. Then update its UpperLimit property.
param1 = coder.asap2.Characteristic;
param1.Name = "Custom_parameter1";
param1.LongIdentifier = "longIdentifierParam";
param1.UpperLimit = 255;
param1.LowerLimit = 0;
add(descObj, param1);
get(descObj, "Characteristic", "Custom_parameter1")
ans =
  Characteristic with properties:

                   Name: "Custom_parameter1"
         LongIdentifier: "longIdentifierParam"
                   Type: 'VALUE'
             EcuAddress: '0x0000'
        CompuMethodName: 'NO_COMPU_METHOD'
             LowerLimit: 0
             UpperLimit: 255
      EcuAddressComment: ""
    EcuAddressExtension: []
      CalibrationAccess: 'Calibration'
      DisplayIdentifier: ""
                 Format: ""
                BitMask: []
               AxisInfo: []
           RecordLayout: ""
             Dimensions: []
                 Export: 1
             MaxRefresh: [1×1 struct]
             SymbolLink: [1×1 struct]
             CustomData: ""
set(descObj, "Characteristic", "Custom_parameter1", UpperLimit=128)
Add a Custom Measurement
Create a measurement that represents a signal and add it to the ECU description object. Then update its CalibrationAccess property.
signal1 = coder.asap2.Measurement;
signal1.Name = "Custom_signal1";
signal1.LongIdentifier = "longIdentifierSignal";
signal1.UpperLimit = 255;
signal1.LowerLimit = 0;
add(descObj, signal1);
get(descObj, "Measurement", "Custom_signal1")
ans =
  Measurement with properties:

                   Name: "Custom_signal1"
         LongIdentifier: "longIdentifierSignal"
               DataType: 'UBYTE'
             EcuAddress: '0x0000'
        CompuMethodName: ""
             LowerLimit: 0
             UpperLimit: 255
                 Raster: [1×1 struct]
      EcuAddressComment: ""
    EcuAddressExtension: []
      CalibrationAccess: 'NoCalibration'
      DisplayIdentifier: ""
                 Format: ""
                BitMask: []
             Dimensions: []
                 Export: 1
               MaskData: [1×1 struct]
             MaxRefresh: [1×1 struct]
             SymbolLink: [1×1 struct]
             CustomData: ""
set(descObj, "Measurement", "Custom_signal1", CalibrationAccess="Calibration")
Add a Lookup Table Parameter
Create a lookup table parameter of type MAP with two axes. Each axis requires a name, computation method, maximum number of axis points, and axis type.
lutParam = coder.asap2.Characteristic;
lutParam.Name = "custom_lookup_table";
lutParam.Type = "MAP";
axisData = coder.asap2.AxisInfo;
axisData(1).Name = "BP3";
axisData(2).Name = "Bp4";
axisData(1).CompuMethodName = "ASAP2Demo_CM_double";
axisData(2).CompuMethodName = "ASAP2Demo_CM_double";
axisData(1).MaxAxisPoints = "3";
axisData(2).MaxAxisPoints = "3";
axisData(1).AxisType = "STD_AXIS";
axisData(2).AxisType = "STD_AXIS";
lutParam.AxisInfo = axisData;
add(descObj, lutParam)
Export the Customized ASAP2 File
Export the ASAP2 file using the updated ECU description object. Verify that the generated file contains the custom computation method, characteristic, measurement, and lookup table parameter.
coder.asap2.export("ASAP2Demo", CustomEcuDescriptions=descObj);Remove Custom Descriptions
Remove the custom descriptions from the ECU description object.
delete(descObj, "CompuMethod", "CompuMethod_1");
delete(descObj, "Characteristic", "Custom_parameter1");
delete(descObj, "Measurement", "Custom_signal1");
Create and Add Custom Group
This example shows how to add, modify, and remove custom groups in an ASAP2 file.
Groups organize characteristics and measurements in an ASAP2 file so that calibration tools can present related data elements together.
In this example, you:
Build a model and create an ECU description object
Find and filter groups by properties
Add a custom group with referenced characteristics and measurements
Modify group properties and export the ASAP2 file
Open and Build the Model
Open the example model ASAP2Demo and generate code from it. Building the model is a prerequisite for creating the ECU description object.
open_system("ASAP2Demo");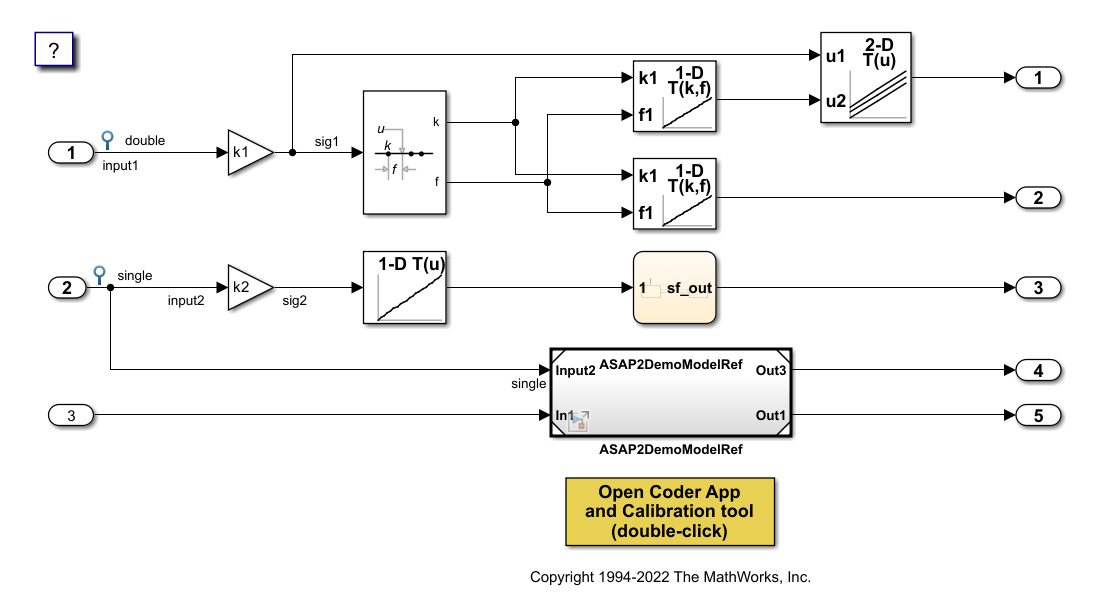
slbuild("ASAP2Demo");### Searching for referenced models in model 'ASAP2Demo'. ### Total of 2 models to build. ### Starting serial code generation build. ### Starting model reference code generation target build for: ASAP2DemoModelRef ### Successfully updated the model reference code generation target for: ASAP2DemoModelRef ### Starting top model code generation target build for: ASAP2Demo ### Successful completion of build procedure for: ASAP2Demo Build Summary Model reference code generation targets: Model Build Reason Status Build Duration ============================================================================================================ ASAP2DemoModelRef Target (ASAP2DemoModelRef.c) did not exist. Code generated and compiled. 0h 0m 10.07s Top model targets: Model Build Reason Status Build Duration ============================================================================================ ASAP2Demo Target (ASAP2Demo.c) did not exist. Code generated and compiled. 0h 0m 19.22s 2 of 2 models built (0 models already up to date) Build duration: 0h 0m 31.536s
Create and Explore ECU Descriptions
Create the ECU description object for the built model. Use the find function to list available groups.
descObj = coder.asap2.getEcuDescriptions("ASAP2Demo");Export duration: 0h 0m 0s 217ms
find(descObj, "Group")ans = 1×2 string
"ASAP2Demo" "ASAP2Demo.ASAP2DemoModelRef.ASAP2DemoModelRef"
Filter the groups to get only those that have Root set to true.
find(descObj, "Group", Root=true)ans = "ASAP2Demo"
Add a Custom Group
Create a group that references specific characteristics and measurements, and add it to the ECU description object.
groupObj = coder.asap2.Group;
groupObj.Name = "CustomGroup_1";
groupObj.LongIdentifier = "New test group";
groupObj.RefCharacteristic = ["ydata3", "ydata4"];
groupObj.RefMeasurement = ["ASAP2Demo_Y.Out3", "ASAP2Demo_Y.Out3"];
groupObj.Root = true;
add(descObj, groupObj);
Verify the properties of the newly added group.
get(descObj, "Group", "CustomGroup_1")
ans =
  Group with properties:

                 Name: "CustomGroup_1"
       LongIdentifier: "New test group"
    RefCharacteristic: ["ydata3"    "ydata4"]
       RefMeasurement: ["ASAP2Demo_Y.Out3"    "ASAP2Demo_Y.Out3"]
                 Root: 1
             SubGroup: [1×0 string]
           CustomData: [1×0 string]
Update the LongIdentifier property using the set function.
set(descObj, "Group", "CustomGroup_1", LongIdentifier="Group 1 new long identifier")
Export the Customized ASAP2 File
Export the ASAP2 file using the updated ECU description object. Verify that the generated file contains the group CustomGroup_1.
coder.asap2.export("ASAP2Demo", CustomEcuDescriptions=descObj);Remove the Custom Group
Remove the custom group from the ECU description object.
delete(descObj, "Group", "CustomGroup_1");
Video - Customization of ASAP2 File
This video walks you through how to build a model and add, update, find, and delete custom data elements in an ASAP2 file.
See Also
coder.asap2.AxisInfo | coder.asap2.Characteristic | coder.asap2.CompuMethod | coder.asap2.Function | coder.asap2.Group | coder.asap2.Measurement | coder.asap2.RecordLayout | coder.asap2.export | coder.asap2.getEcuDescriptions | coder.asap2.Group

